Sewing our Sanity

Tuesday, July 2, 2013

The Lonely Doll Dress

Dear Monica,

Katy at No Big Dill hosts a great series called Once Upon a Thread and guests post their creations based on a favorite children's book.  I wanted to play along last year and picked out a book and bought the fabric....and life happened.

 So, this year when she announced OUT Chapter 4, I was ready!

One of my very favorite books growing up was The Lonely Doll by Dare Wright.


I loved the black and white photos of a doll in a real world, doing real things.  It was very intriguing to me as a child.  And of course, Edith could be very naughty and got into all kinds of mischief. 

So, I decided to make a dress for my own naughty girl, Natalie.  Who we sometimes call "Naughtalie".  


I used a pattern I picked up at the thrift store for $0.75.  At first glance, the dresses look really busy and very out of date.  But the bones of the dress are classic.


In keeping with the book cover and the dress Edith wore, I chose a pink and white gingham. And I scoured the internet looking for on that was 100% cotton.  I found it at Fabric.com and ordered it in blue too, just to have on hand.  (I do that a lot but you can never have too much fabric right?!?)


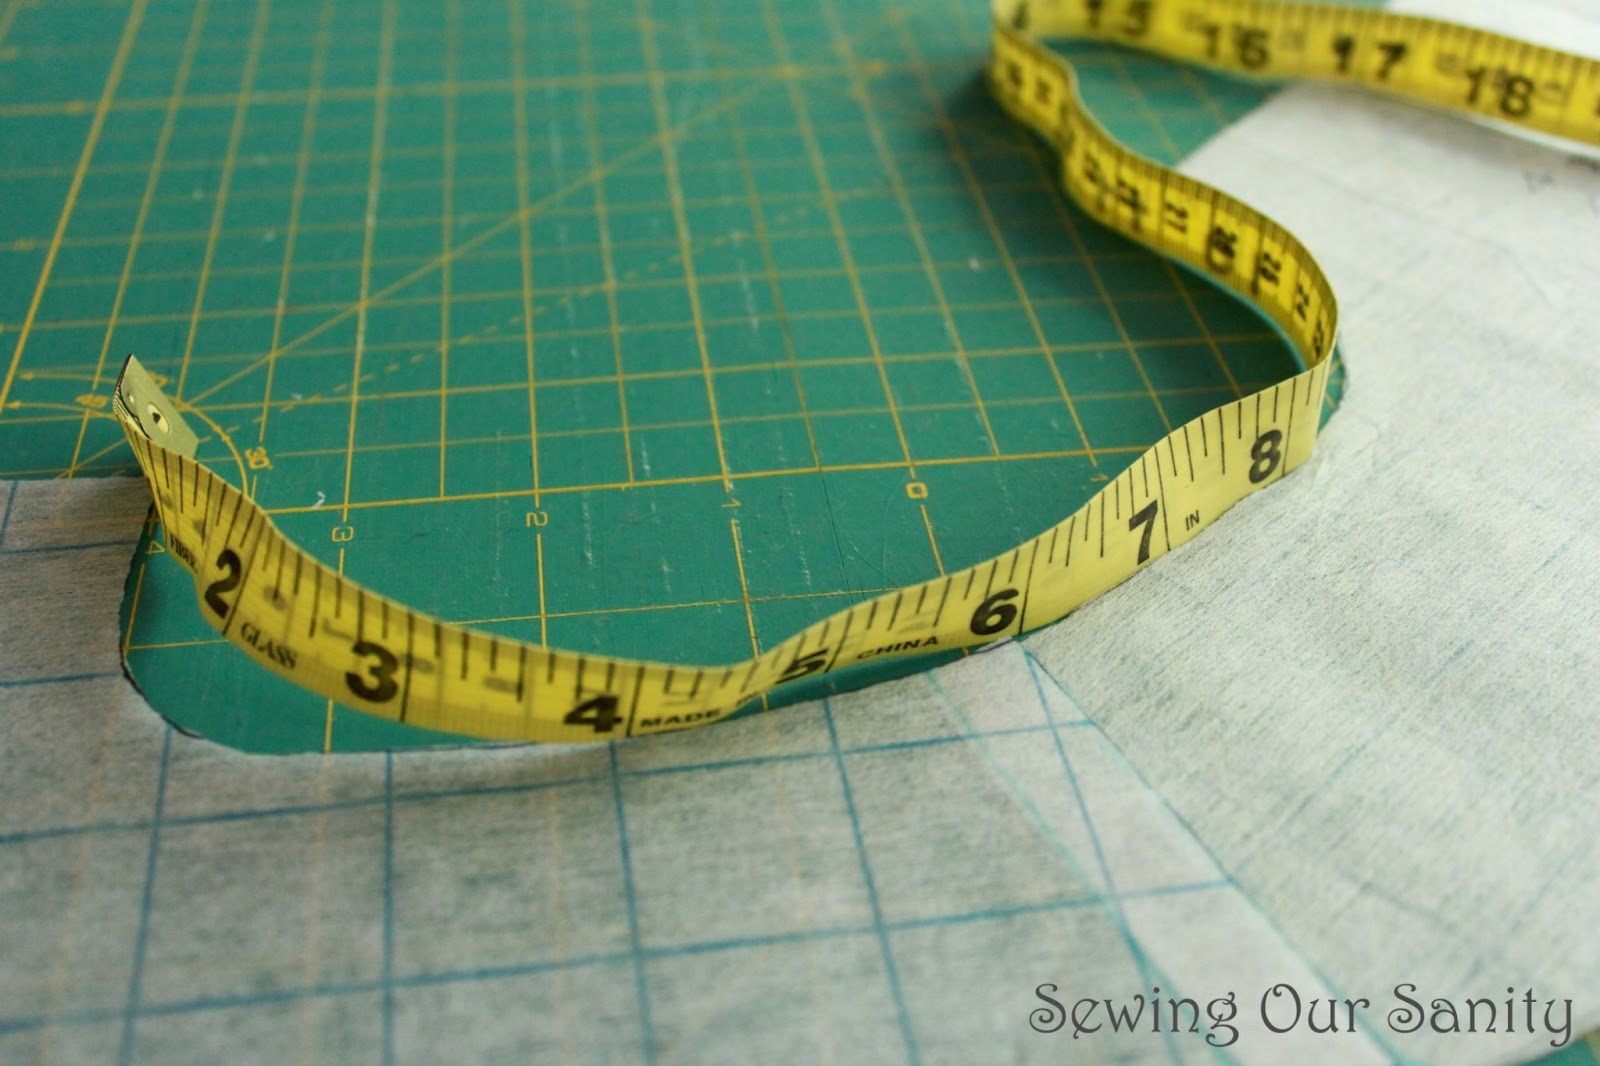
Originally I thought I would make little flutter sleeves, but Natalie wanted "NO sleeves!!" So I just made the basic dress.  I was going to add some extra length but forgot when I was cutting it out and didn't have enough fabric.  With the cotton eyelet lace I added to the hem, to mimic a petticoat it turned out just the right length.  


The pattern called for a sash, but since I was going to add an apron to the dress, this would be just too many ties going on in the back.  And the finished dress was HUGE!  I wanted her to be able to wear it with or without the apron, so I took in about an inch on each side seam. 

PERFECT!


I love vintage style clothing for little girls.  It is really timeless.


I needed to sneak in a black and white photo! ;) 

or two.

XOXO

Emily


Wednesday, June 26, 2013

Photo mounted on wood

Dear Monica,

I have been meaning to get this post up for a while.  Well since Father's Day. But we had a massive thunder storm that knocked our internet out for a few days.  So here it is, Sam's Father's Day present.


I couldn't be more thrilled with the way it turned out.  I had been wanting a large canvas of the kids for a while but the price tag on a wrapped canvas was more than I wanted to pay.  This project cost me about $12.

I started out using one of those museum trays we got from the Scrap Exchange last summer (thank you Margaret for picking those up for me). 

This is the back...


and this is the front.


It is very light weight, probably about the same as a canvas.  The back side measured 20"x 30" which is exactly poster size.  I ordered a 20"x30" of my favorite photo of the kids, taken at the beach last summer, from Costco.  I thought the picture would be a bit grainy but I was thrilled with the quality.  It is very crisp and the colors are so vivid, and it was only $8.

I painted the sides and part of the back with Annie Sloan's chalk paint, mostly because it is what I had on hand.


Then, I spread Modge Podge all over the top.


And carefully mounted the photo onto the top and smoothed out all the bubbles with a rag.


After it was dry I used some sand paper to distress the corners or the photo and the "frame".


Then, I sealed the photo with more Modge Podge, slightly watered down (since I was running out).


It looks fantastic hanging on the Family Room wall and the colors in the photo are perfect with the hutch and the rocking chair.  


Perfect Father's Day gift!


XOXO,

Emily


Thursday, June 13, 2013

Birthday Part Dress refashioned to Tunic

Dear Monica,

Yesterday I posted about the Oliver + S Birthday Party Dress.  I really love this dress and kept thinking that it would make a really cute and comfortable tunic.  Since that is not an option for the pattern I decided to make my own changes to the pattern. And because so many of Natalie's clothes are sleeveless I thought I would add some cap sleeves for something a bit different.


I really loved how it turned out so I made her a second one!

(Super windy day at the Arts Festival)

To start modifying this pattern, I decided that I wanted the finished tunic length to be 16", so I adjusted the front and back side pattern pieces to be 17" long for seam allowance.


Because the finished dress had a slightly curved edge, I placed the bottom facing piece on my new tunic line and traced it to get the slight curve.  I also figured the new facing pattern piece. As you can see in the picture the tunic cutting line for the facing piece is 1/2" longer.


To figure the length for the front center and back center panels, I matched up the dots on the pattern pieces (see the arrows) and matched the new tunic lines from the side pieces.


To get the front lining piece, I placed the pieces across the front side panel pattern piece and the center panel pieces and drew the new tunic line 1/2" longer than the other two pieces. (Sorry the picture is so grainy.)


Next I made the cap sleeve.  To do this, I overlaid the front and back side pieces by 1/2" for the seam allowance and measured the arm.  The arm for the size 4 is 11".


So I cut a piece that was 10.5" long by 3" wide and rounded out one side.


To assemble the tunic I followed the pattern and assembled the front and back pieces.  BUT I sewed the pieces together at the shoulders (not the sides as the pattern calls for).

Then I attached the cap sleeve and pressed the seam towards the tunic.


Next, I sewed the shoulder seams of the facing pieces together.  Then I attached the facing to the tunic following steps 1-3 in the pattern, which will attach the facing around the neck line of the tunic.

Then, I pinned the facing to the armhole being sure to sandwich the sleeve to the inside.


After sewing the facing to the armhole, I pulled the back piece through the tube created by sewing the armhole facing, to turn the tunic right side out.


Finally, I sewed the side seams of the lining and the dress in one long line.  


Then I finished the rest of the tunic just as you would finish the dress.


I paired it with the Oliver + S Puppet Show shorts.


XOXO,

Emily


Wednesday, June 12, 2013

Birthday Party Dress

Dear Monica,

I made Natalie the Oliver + S Birthday Party Dress. Have I told you how much I love Oliver + S patterns?  They are fabulous!


 I made it a few months ago with Mermaids from Storyboek Two by Birch Fabrics and have been waiting for it to get warm enough for her to wear.  Well, it is finally warm enough and it is such a cute dress.


As with all Oliver + S patterns, the details on this dress are lovely.  There are two options for the front panel, a tab or a tie.  I chose the tab and used a red Kona cotton.  I love turquoise and red.


I made her a headband to match.  I made up a little pattern for this and made it reversible but then decided to add a yo-yo to add a little more detail.  She doesn't like things in her hair but she said this was "comfy".  I will do a post on this soon.


We had a fun little photo shoot at our community dock this evening.  And I got so many cute shots.  


XOXO

Emily

Just one more.  This is my favorite.


Wednesday, February 13, 2013

Snow White Puppet Show Dress

Dear Monica,

Natalie very much likes to dress up, especially as a princess.  We are going to Disney World soon and I knew that she would want to dress up at the park.  But you can really only wear one of those cheapy dress up gowns for so long before they get annoying.  A while ago on Pinterest I saw how Jan had turned the Puppet Show dress by Oliver + S into Snow White's dress, so I made one for Natalie.


I followed Jan's tutorial to make the pleated sleeves.  I just wish that I had serged the edges of each sleeve pieces before I sewed them together, as they will ravel a bit.  But she loves it so much that she I couldn't even iron it before she put it on and kept taking it and trying it on as I was making it,  just to be sure it fit.  

As I was making the dress, I was contemplating what I would do for buttons.  I originally thought I would use two blue buttons and 5 yellow buttons so they wouldn't be too noticeable but that just seemed predictable and boring.  And I kept thinking there are 7 dwarfs and the dress needs 7 buttons.  Again, I turned to Pinterest and used this tutorial to make my own buttons out of Shrinky Dinks.


I absolutely love how they turned out and they really make the dress.  I didn't have the circle punch, so I just traced a spool of thread and I used a Sharpie instead of the Zig markers the tutorial suggests.


Here is a before and after of the buttons.  I used a circle that was about 1.5" in diameter and the button shrunk to about a half inch in diameter.  


And I added Snow White to the sleeves.


And now, she has something that she can wear all day at Disney and not be uncomfortable in.  She is one happy little girl.  


XOXO

Emily


Wednesday, February 6, 2013

Raspberry Kisses, Gluten Free Meringues!

Dear Emily,

It really has been a long time! I love your skirt. I looked at that book,  Gertie's New Book For Better Sewing, and it looks like a great source. I am interested to see what else you make.


Remember these? Raspberry Kisses. So easy to make but way too delicious so I don't make them often.We had company for dinner, one of whom happens to eat gluten free. These meringues were a perfect ending to dinner tonight.

All you need is this

 eggs, cream of tartar, sugar, raspberry gelatin, vinegar, and chocolate chips
(the complete recipe is at the end)


 Beat the egg whites and cream of tartar until the whites are foamy. I beat them a little more than necessary, they are nearly to the "soft white peak" stage.


 Next, beat in the sugar and gelatin. Beat until the sugar is disolved and the mixture forms stiff peaks.


 Stir in the chocolate chips.

 Well, more like fold in the chips.

 I used a cookie scoop and placed the blobs four to a row on my baking pan. They do not rise or spread out so there is no need to space them any farther apart.

Bake at 250 for 30-35 minutes.


Raspberry Kisses
3 egg whites
1/8 teaspoon cream of tartar
3/4 cup sugar
3 1/2 tablespoons raspberry gelatin
1 tablespoon vinegar
1 cup chocolate chips

Beat egg whites and cream of tartar until foamy. Mix the sugar and gelatin and gradually add to egg whites, beating until sugar is disolved and stiff peaks form. (I have never been able to get the sugar to disolve completely and they always turn out fine) Beat in the vinegar and fold in the chips.

Drop by teaspoons onto baking sheets lined with parchment paper or a silicone baking mat, such as a Silpat. They will not rise or spread out so they do not have to be spaced too far apart.

Bake at 250 for 30-35 minutes. They will be a little moist on the inside, if you prefer them drier, leave them in the oven a little longer but watch that they do not start to turn brown. Store in an airtight container.

We have always wondered how they would taste with other flavors of gelatin...orange? Orange and chocolate are great together. Strawberry? Great with chocolate, too. Grape? No. Lime? Yuck. Lemon? That might be good.

XOXO,
Monica