Sewing our Sanity

Wednesday, October 31, 2012

Happy Halloween!

Dear Emily,

Happy Halloween! What a crazy busy week it's been and we are only half way through. Hurricane Sandy passed us with a lot of wind and dumping buckets of rain but we were lucky to have missed major damage and our power stayed on. School was closed for two days so I had to keep everyone occupied and sew Caroline's Halloween costume.

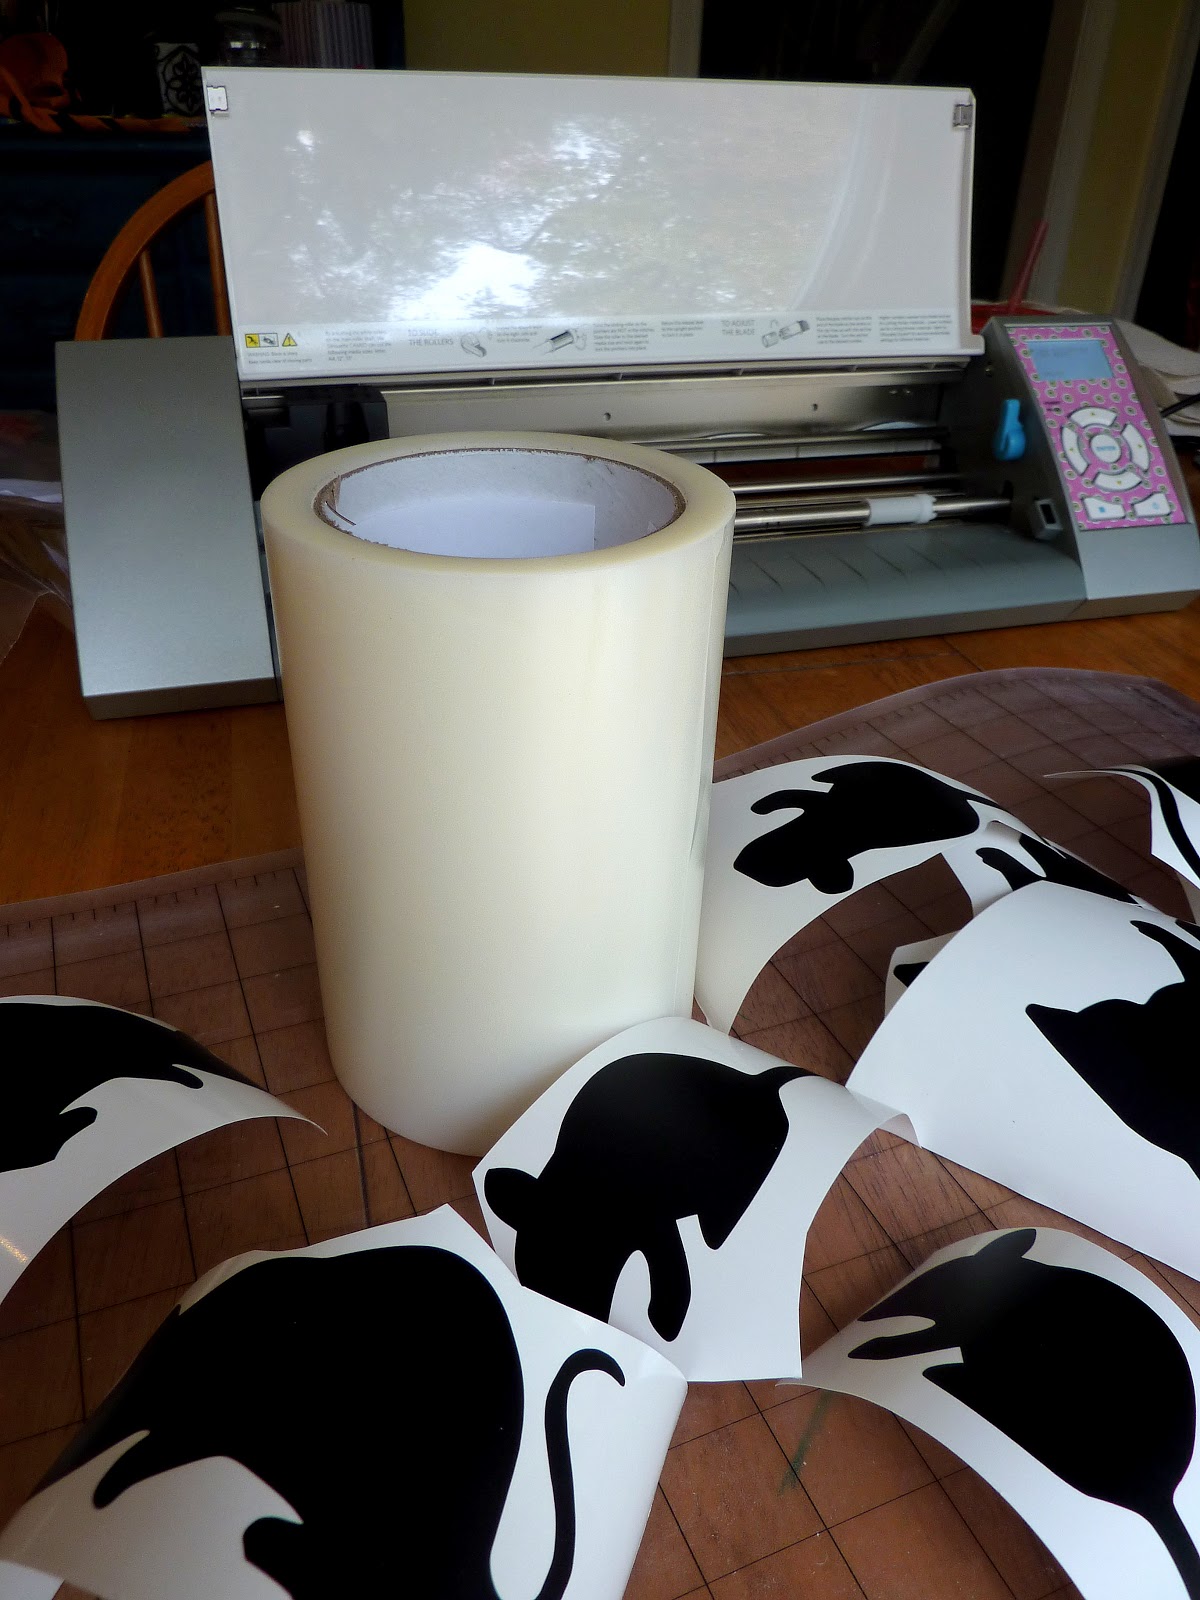
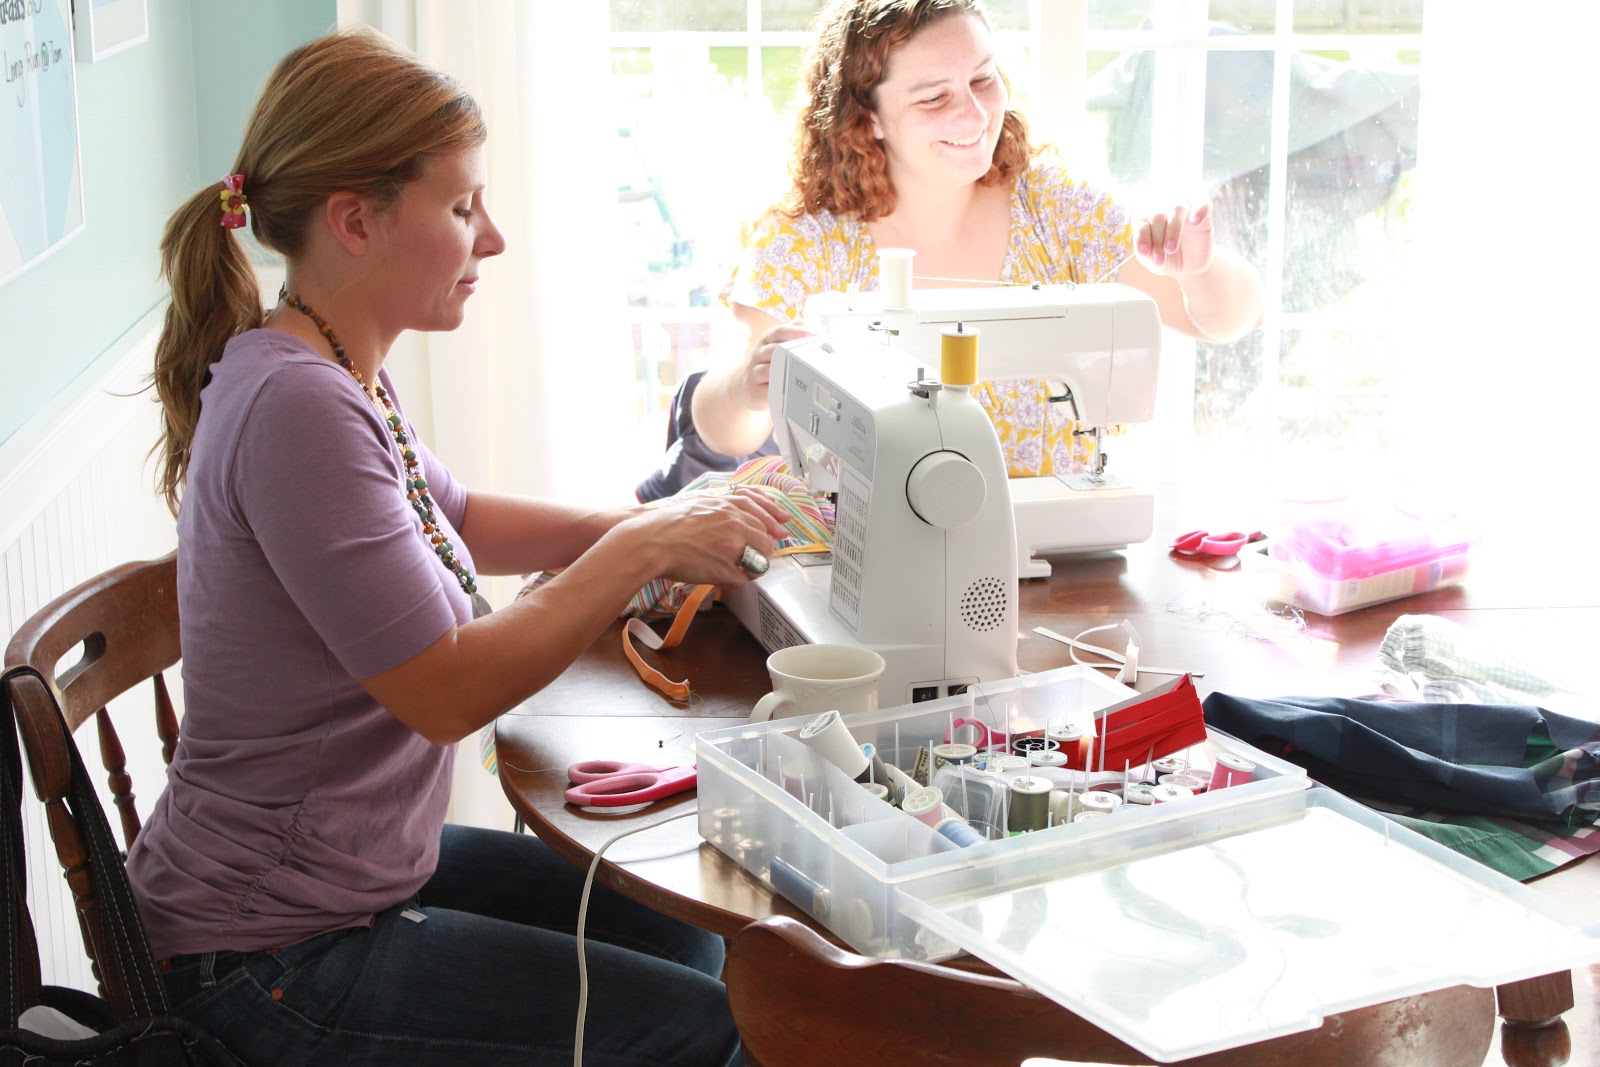
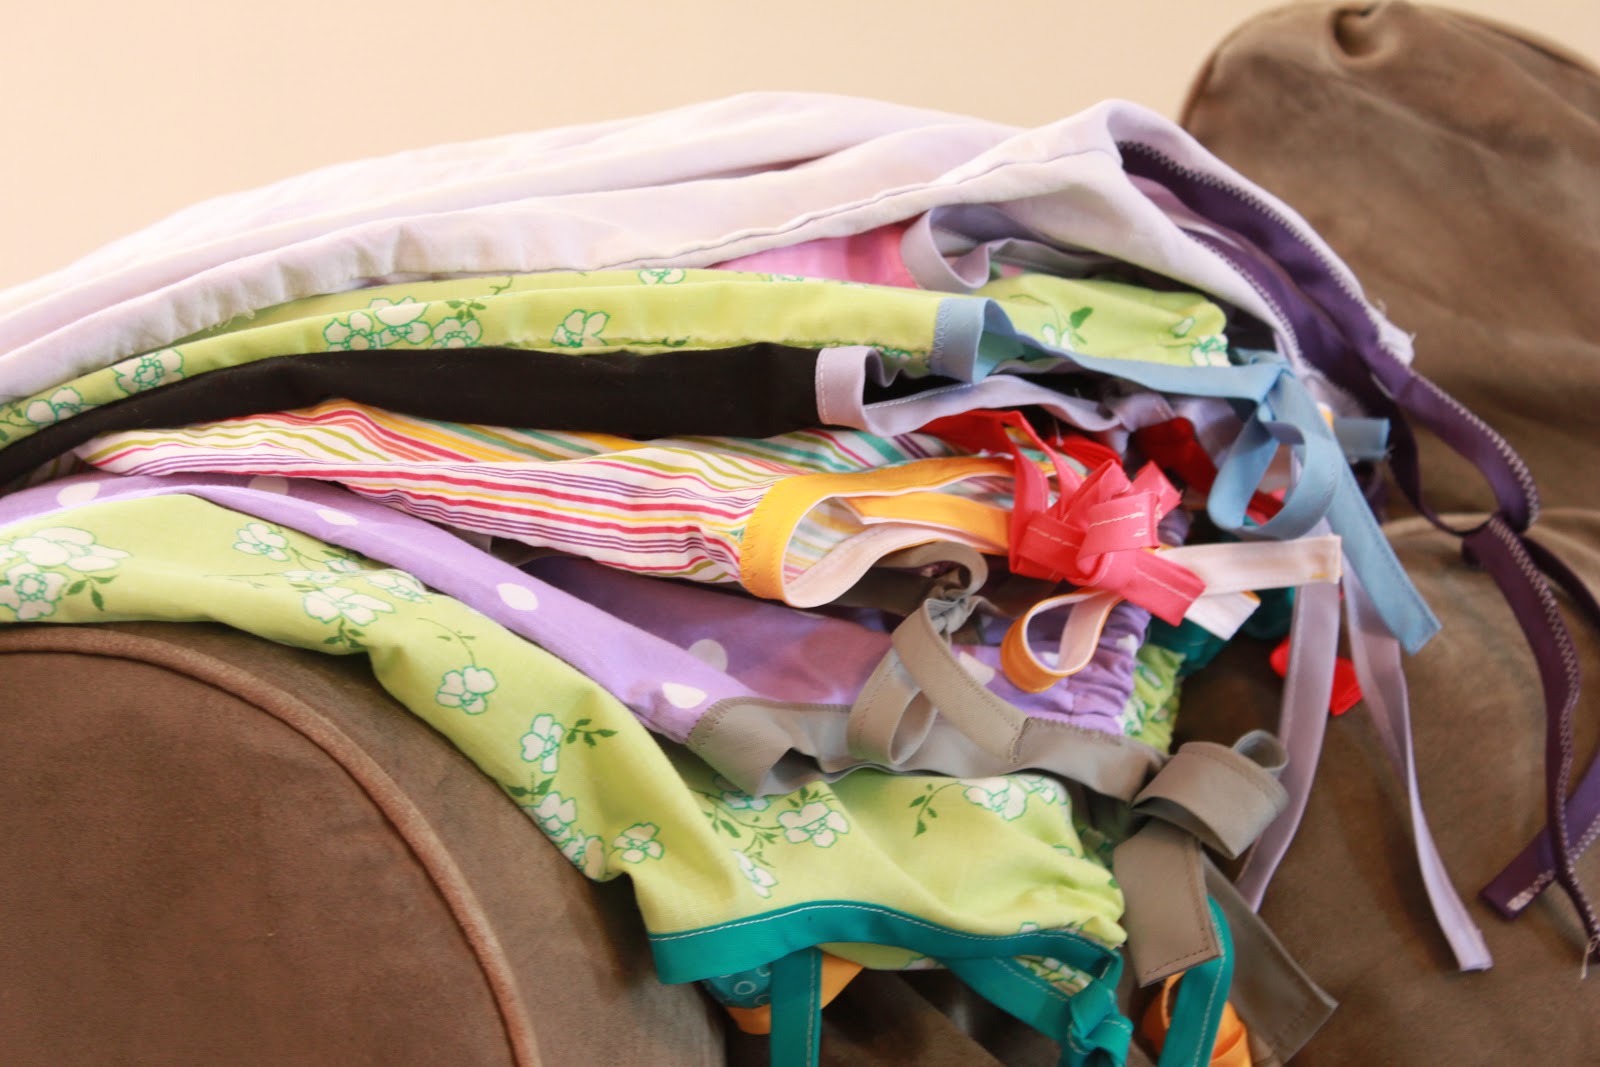
And make these treat bags for her class. And gather the ingredients for Witches Brew. I'll send you that recipe tomorrow.

I love your lamp! I think painting the base is the perfect touch, too. I have been looking for one ever since you found that one but haven't had any luck. Once or twice I saw one but they were too damaged. And your shoes! So cool! They are like TOMS.


Happy Trick or Treating! Can't wait to see pictures of your kids!

XOXO

Monica


Tuesday, October 30, 2012

Handmade Shoes

Dear Monica,

I have been searching for a pair of navy flats for a while.  I haven't found anything that I really liked.  Navy flats always seem to be too fancy and I wanted something more casual.  So I decided to make my own.


I used the Everyday Shoe pattern from Shoeology.  It was a great, easy to follow pattern that included lots of step-by-step pictures (I am very visual) and directions for customizing the fit.  I made a test shoe to insure the fit before I made my final pair.  

The pattern calls for interfacing to add firmness and shape to the shoe.  I used Pellon Ultra Firm interfacing.  I used this because I was using quilting weight cotton and I wanted to make sure the shoe was a bit firmmer, and it was all I had.  For the soles I bought waterproof material from the Shoeology Etsy store.  

After I finished the shoes, I added insoles.  The pattern recommends buying a foam insole and trimming it down to size and wrapping fabric around the insole.  Instead, I bought gel insoles and glued fabric to the top of the gel insole with spray adhesive.  These add a lot of comfort and I don't feel like I am walking barefoot.  


I like the key hole cut on the top and they are secured with an elastic loop around a button.


I think they look smashing with my Old Navy red skinny jeans.  


I will used this pattern again, maybe with a tweed.  

XOXO

Emily


Thursday, October 25, 2012

Spray painted glass lamp

Dear Monica,

Do you remember a year and a half ago, when I came to visit and we went thrifting?  And I bought a cut glass lamp?  Yes, it has been that long and the lamp has been sitting in my garage waiting for some TLC. Occasionally Sam will ask me if I am going to use it because it is taking up room on his work table.

Well, it finally got it.


Here it is before my lovely transformation.  I liked the shape of the lamp but not the cheapy plastic base.  


So I used this tutorial from Janell at House of Fifty.  I had painted some ceramic vases before (I think you have the same ones) and they turned out okay but didn't quite have the "professional" look.  

I taped up the cord and the socket and then sprayed the base with a white primer by Krylon.


Then I sprayed it with Krylon paint in a maroon to match our TV cabinet.  


You can't really tell in this picture but I had a lot of trouble with the red bubbling up.  But after a few more coats of red, they don't really show and after adding several coats of Krylon's clear protective spray they are hardly noticeable.

I am quite pleased with it and it adds a pop of color to the corner of our living room.  


XOXO
Emily


Tuesday, October 23, 2012

Vinyl B

Dear Emily,


I made this a couple of weeks ago but kept forgetting to send you a picture. It is a metal sign that looks like a giant bottle cap. There was a patchwork picture with a chicken, not really my thing, but it was on clearance at Joann's for a couple of dollars. I knew I could easily paint it and I envisioned our family's initial on it. Out came my Silhouette and black vinyl and after a little trial and error, it was quickly finished. The trial and error was this...the Silhouette was cutting off the mat. I wondered if I needed to calibrate it and looked on line for a how to. I found a post on Joy's Life where someone was having the same issue. I hadn't noticed this before, but when you cut without the mat, the machine says "load media." When you cut with the mat, it says "load cutting mat." Someone with little fingers must have come along and switched it the setting "load media." The moral of the story: when you need an answer, before you start messing with settings on something, google. Someone somewhere has surely had the same problem.


XOXO
Monica


Monday, October 22, 2012

Halloween mice silhouettes

Dear Emily, 


Did you realize Halloween is a little over a week away! I feel like I am a little late to the party.A little behind on decorating. I did a bunch of stuff this weekend, figuring if I have three boxes of Halloween/Fall stuff in the attic I need to use it to justify using up the space for the boxes in the attic. 

I have wanted to make these mice ever since I saw them in Martha Stewart's magazine a few years ago. Making them required tedious cutting and I just never found the time. Okay, honestly, it is not tedious, but it was one of those projects that got shoved to the back burner every Halloween. Not this year. I found the template on Martha Stewart's website and transferred the image to a .png file to use in the Silhouette software. I cut them out of vinyl on my best friend, my Silhouette Cameo. Ta da! Creepy mice. And every time I come in the front door, I do a double take. And the kids love them.


I have been out of the transfer paper (the stuff you stick the vinyl to so it can be applied to your chosen surface, in this case the risers on the steps). I think it is a little pricey. Contact paper is too sticky, though I do remember your telling me you read somewhere that the contact paper at the dollar store is less tacky and works as transfer paper. I found this stuff, the white roll in the picture below, that works very well. Vinyl Ease.


I cut the shapes from black vinyl, removed the excess 


and cut them apart.

Then used the Vinyl Ease vinyl tape to apply them to the stairs. 

XOXO
Monica


Wednesday, October 17, 2012

Butternut Squash Recipes

Dear Emily,

I so wish we lived closer! I would have loved to have been there sewing with ya'll! I love the idea! I might just have to find some people near me to sew some dresses. I will have to take a look at the Dress a Girl Around the World site.

Hanging out in North Carolina seems to have brought out my southern drawl a bit! What a fun weekend we had at the Southern Blogger's Conference! So much new info on blogging. I have so many things I want to sew and make if it weren't for the laundry, cooking, and cleaning, I'd have time.Sigh.

Speaking of cooking, I have had a huge butternut squash on the counter for a couple of weeks. I love roasted butternut squash from this recipe in Fine Cooking.

source
That recipe is my old standby. It is so good as is and terrific pureed into a soup. The problem, though, is that no one in my family eats it except Anthony. The squash was so big I made a third of it this way, roasted another third plain to use in something everyone will eat. I hope. (cookies or muffins) The other third, I used in the recipe posted by Mel on Mel's Kitchen Cafe. Chicken and Butternut Squash Quinoa Stew. Oh. My. Goodness. So good! Anthony ate it. Caroline ate it. Paul got home late and had a peanut butter and jelly and promised he'd eat some tomorrow. Gabe wouldn't touch it. He did stand at the counter earlier and ate some of the squash raw and said "mmm. this is so good." I had high hopes he would eat the stew. Nope. Or as he has been saying lately, 'how about...no.'

source

Now, go buy yourself a butternut squash. I am sure your kids will gobble it up. Maybe mine just aren't big soup eaters?

xoxo
Monica

Tuesday, October 16, 2012

Dress A Girl Around the World

Dear Monica,

Yesterday morning I got together with a group of friends to make pillow case dresses for Dress A Girl Around the World.  Dress a Girl provides handmade dresses to girls around the world.


"By providing a new dress you may well be changing a young girl’s destiny. Village pastors tell us that a girl wearing a new dress presents an appearance that she is well cared for and may discourage would-be predators. We attach our Dress a Girl label on the outside of each dress sending an additional message that each girl is under the care of an organization. Thus giving her added protection from those who would harm her." 


We had sewers and non-sewers donate their time and talents.


Those that didn't sew were able to help the sewers by ironing, pinning the bias tape, threading elastic through casings, and even making bias tape!  


In just 2 hours we were able to get 18 dresses made! Our goal is to make 100 dresses by Christmas!  


My friend Elizabeth of By Cee Cee organized the sewing bee and has been promoting this wonderful organization.  She is hosting an auction to benefit Dress A Girl, with a 100% of the proceeds being donated.  I am donating a Puppet Show dress like this one I made Natalie, but the winner will be able to choose the size and fabric.  

I am so happy that I am able to donate my time and this gift of sewing.  I brought home some labels so that I can make a few dresses from the pattern provided on the Dress A Girl website.  I think I may also need to make Natalie a few while I am at it. 

XOXO
Emily


Wednesday, October 10, 2012

Puppet Show Dress

Dear Monica,

I love Oliver + S patterns.  The designs are so classic and the details on each pattern are fantastic.  The patterns vary in range from one scissor (easiest) to 4 scissors (hardest) and the illustrated directions are easy to follow with lots of hints and details for giving you a finished piece.  They are offering many of their retired patterns now as PDF files, which I think is fabulous.

I made Natalie the Puppet Show tunic and shorts for the summer.  The outfit is adorable and so comfortable.  I used the shorts pattern to make her camouflage shorts and I can see using this pattern over and over again.

I decided this time to make her the Puppet Show dress.


I used a very cute yellow cotton I got on sale from the Fat Quarter Shop that has red, white, and dark pink dots.  I wanted to use red buttons down the back but I didn't have enough of the right size and I was impatient to get it finished so I used brown, orange, and red buttons instead.  Perfect Fall colors. And they add a bit more interest and fun to the dress. 


I also was running low on yellow thread so I used red thread for all the top stitching on the collar, bodice, sleeve cuffs, and darts.  I really love how it pops and the darts are so cute.  


It is a perfect play dress! And she loves it.  


XOXO
Emily

Monday, October 8, 2012

"New" Dresser

Dear Emily,


I have a new dresser and vanity. Well, new to me anyway. All my life I have wanted a vanity but until recently I had no place for one. I found one on Craigslist for $40. And a matching dresser I had not intended on getting for another $40. Too good a deal to pass up!

This is the before. I love the shape of the legs and the height off the floor of the dresser.Oops, you can't see the legs of the dresser. Imagine the height off the floor of the dresser. And imagine the garage is not junky.


I sanded the flat surfaces with an electric sander and sanded the other parts by hand. Not tons of sanding, but enough to get rid of the build up on the finish that had accumulated over the years.

Choosing the paint color was not difficult...I fell in love with Behr's "Black Suede" when I saw it on this buffet on Infarrantly Creative way before I found the vanity.
Source

I used my favorite Home Depot Behr paint with primer all-in-one. No need to prime, just a couple of coats of the paint. Though on something that gets a lot of wear, such as your front door, priming with Zinser or Kilz is a good idea. I have read recently that some people like to put polyurethane over top and I am thinking I will do that the next time I paint something in latex. I always let my furntire "cure" for a week or so in the garage before bringing it into the house. And so far everything has held up well without the poly on top.With the exception of the red buffet. That did have a poly on top. And it is holding up very well. And I just realized I still haven't sent you pictures of the final buffet. Oops. I'll get on that next week! Things have been crazy here the last two weeks and this weekend is not going to be any less crazy!

Anyway, back to the vanity and dresser...we rearranged some things in our bedroom to make room for the vanity and to make room for my new dresser, moved my old one to the boys' room. Now that needs a new coat of paint, probably ASCP Paris Grey. 


So here is my lovely vanity.


And its matching dresser. 


I love the simple shape and the little details, particularly on the legs.


A before and after of the handles:


I gave them a good cleaning with this


And then I decided to spray them off white.

 I love them both!

xoxo
Monica

Dear Emily,

Just a quick note to remind you that this week is Kids Clothes Week Challenge.


Yeah, you did remind me earlier today on the phone. Make that yesterday now, since I just noticed it is after midnight. This is going to be a busy week! I need to find some time to do a couple of things to take to the Southern Blogger's Conference this weekend. I need to finish shirts for Anthony's class's field day on Friday. And I need to try and find some time to sew. I have a pile of projects lined up to sew for Caroline. Ought to go to bed! 

xoxo
Monica

Friday, October 5, 2012

Haunted House

Dear Monica,

It is finally October and time to decorate for Halloween.  We have to have lots and lots of skeletons, and haunted houses, and jack-o-lanterns, according to Jack.  He loves to go to all the stores and browse through their selection of Halloween goods.  He particularly loves the skeletons (I think he may be an orthopedic surgeon one day). But as we were looking over the items in Target the other day, he asked if we had any haunted houses.  Well, I didn't have any haunted houses and Jack was a little annoyed that I didn't have any.  So I went to Michael's and used my 40% off coupon to buy this bird house for about $5.


I cut the perch off and sanded it down a bit, but you don't have to do this.  I also sanded up the rough edges to remove all the splintery pieces of wood.  Then I spray painted it with flat black paint, since that is what I had on hand. 


And Voila!  A Haunted House for Jack.  I found the little skeletons at Michael's also marked down to $1.00.  I think I need to go back and get a few more different bird houses and make a village of haunted houses.  They would look awesome on a mantel with little tea lights in them.  

XOXO

Emily