I used a wool blend felt that I purchased from this etsy store. There are many store on etsy that sell 100% wool like here and here. The blend I use doesn't pill or stretch and is a nice alternative to the 100% wool, which can be pricey. You do not want to use the polyester felt found at craft supply stores. It will pill and stretch and you won't be happy with your finished product.
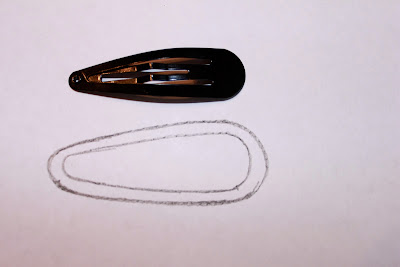
I traced around my snap clip (I used Goody's) and then added about and 1/8" seam allowance.
Then cut 2 pieces of felt. On one piece mark 2 dots and clip a between the dots. Then slid the back of the clip into the slit. This will be your bottom piece. Lay it aside for now.
Next I decided how I wanted to embellish the top piece. I cut my pieces out of felt and then sewed them to my top piece of felt. I used a simple straight stitch to attach the flower and a french knot to attach the flowers center.
Then I placed my top and bottom pieces together and sewed the two pieces together with a straight stitch. A blanket stitch would also work and be just as cute.
Adorable!
Here are some of the other ones that I made her. I think the peach layered flower with the bead center is my favorite. For the brown one, I embroidered a flower design onto the top piece and then sewed the top and bottom together.


No comments:
Post a Comment